Are you looking to add a touch of elegance and privacy to your windows without breaking the bank? DIY window film is the perfect solution for you. With its easy installation process and affordable price, you can transform the look of your space in no time. In this article, we’ll explore everything you need to know about DIY window film and how it can elevate your home or office decor.
What is DIY Window Film?
DIY window film is a self-adhesive film that can be applied to your windows to achieve various effects, such as privacy, decorative patterns, or UV protection. It comes in a wide range of designs and styles, allowing you to customize the look of your windows to suit your taste and needs.
Benefits of DIY Window Film:
- Enhanced Privacy: Say goodbye to prying eyes and enjoy your personal space. DIY window film provides an added layer of privacy without compromising natural light.
- Stylish Decor: Transform plain windows into captivating focal points. With a vast selection of designs, from elegant frosted patterns to modern geometric shapes, DIY window film allows you to express your unique style.
- UV Protection: Protect your furniture, flooring, and artwork from harmful UV rays. DIY window film can help block up to 99% of the sun’s damaging UV rays, reducing fading and prolonging the lifespan of your belongings.
- Easy Installation: No need to hire professionals or deal with complicated installations. DIY window film is designed for hassle-free application. Simply follow the provided instructions, and you’ll have beautifully decorated windows in no time.
How to Install DIY Window Film:
- Clean the Surface: Start by thoroughly cleaning your windows to ensure a smooth and dust-free application surface. Use a mild detergent and water, and dry the windows completely.
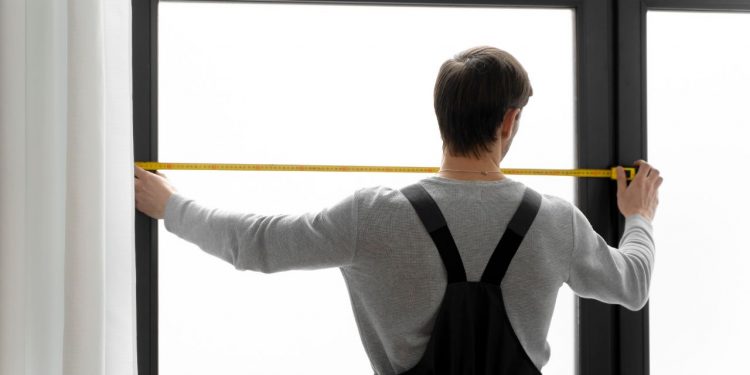
- Measure and Cut: Measure the dimensions of your window and carefully cut the DIY window film to the desired size, leaving a slight overlap for easier alignment.
- Peel and Stick: Peel off the backing of the window film and spray a fine mist of water onto the adhesive side. This will help you adjust the film during installation. Stick the film onto the window, starting from the top and working your way down, using a squeegee or a soft cloth to remove any air bubbles.
- Trim and Finish: Once the film is applied, use a sharp utility knife to trim any excess film around the edges. Finally, smooth out the film with the squeegee or cloth to ensure a seamless finish.
Where to Find Quality DIY Window Film:
When it comes to DIY window film, it’s essential to choose a reputable window film company that offers a wide selection of high-quality products. Look for companies that specialize in window films and provide detailed instructions and customer support to ensure a successful installation.
At https://www.tintfit.com/ , we pride ourselves on being a leading provider of top-notch DIY window films. With our extensive collection of designs and patterns, you’ll find the perfect window film to elevate your space. Visit our website [Your Website URL] to explore our range of DIY window films and get started on your home transformation project today.
Transform your windows into stunning works of art with DIY window film. Enjoy privacy, style, and protection without the hassle and expense of traditional window treatments. Embrace your creativity and make your space truly yours. Get started with DIY window film today!


